Difference between revisions of "Advanced Lighting Settings"
Langstonius (Talk | contribs) |
|||
| (2 intermediate revisions by 2 users not shown) | |||
| Line 1: | Line 1: | ||
[[category: Scenarios]] | [[category: Scenarios]] | ||
| + | [[Category:Configuration]] | ||
| + | {{versioninfo}} | ||
| + | |||
== Setting Ramp Levels== | == Setting Ramp Levels== | ||
Currently ramp levels cannot be set in LMCE (this may change soon). The device ramp level can be changed manually however, at the device. Please reference your device manual to see how this is done. | Currently ramp levels cannot be set in LMCE (this may change soon). The device ramp level can be changed manually however, at the device. Please reference your device manual to see how this is done. | ||
Latest revision as of 16:59, 19 October 2012
| Version | Status | Date Updated | Updated By |
|---|---|---|---|
| 710 | Unknown | N/A | N/A |
| 810 | Unknown | N/A | N/A |
| 1004 | Unknown | N/A | N/A |
| 1204 | Unknown | N/A | N/A |
| 1404 | Unknown | N/A | N/A |
| Usage Information | |||
Setting Ramp Levels
Currently ramp levels cannot be set in LMCE (this may change soon). The device ramp level can be changed manually however, at the device. Please reference your device manual to see how this is done.
Command Chains
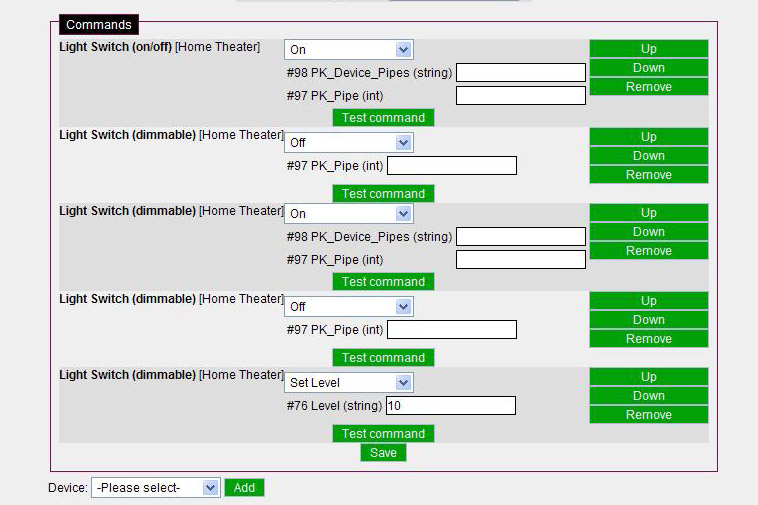
It is possible to assign a sequence of events to a lighting device. For the purposes of this example the light will be turned off and then on. Note: so far it appears that too long of a sequence will kill an event like movie loading.
Advanced lighting senarios can be applied at several levels. For the purposes of this example, they will be applied to the "play movie" event, also known as the auto generated event "showtime"
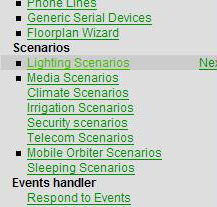
1) Using the web admin, select "lighting scenarios" from the left menu
2) Select the event (by clicking on it) in the room that you would like to apply this advanced scenario to. Again, we are using the auto-generated "showtime" event, however this can be a custom event of your choosing
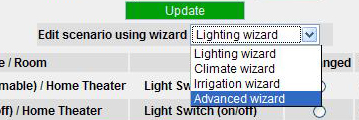
3) Pull down the "Edit scenario using wizard" drop down box and select "Advanced Wizard"
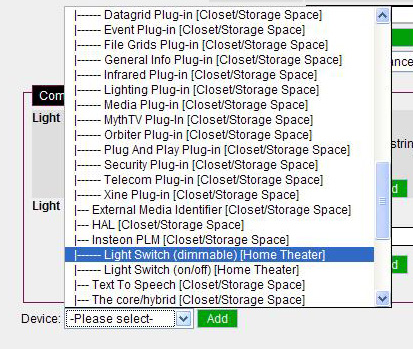
4) On the bottom of this table there is a Device Drop down. Use it to select the lighting device that you will be using and click "Add"
5) After this device has been added you can enact any of the supplied changes on it. In this case, 3 actions have been applied to the same device. The sequence of these events can be controls by it's order on the table. This order can be controlled using the buttons on the side.


