LinuxMCE 710 DVD Installation
From LinuxMCE
Warning: This installation will wipe the entire hard-disk of the PC. All previous data will be permanently lost!
Getting Ready for Installation
- Download the LinuxMCE DVD .iso Image
- Burn it with your favorite DVD writing software.
- Enter your PC's BIOS (usually by pressing the DEL or F2 key at boot-up). Select the CD/DVD to be the first bootup device. Save your BIOS settings.
- Insert the LinuxMCE DVD in the drive.
- If your PC successfully boots from the LinuxMCE DVD you should see the following boot menu:
Installing LinuxMCE
DVD Installation Options
- Install Linux Media Center - this will install LinuxMCE on your hard drive.
- Recovery - allows you to open a console and diagnose your non-bootable system (or request support from the technical department).
- Memory test - test your PC's volatile memory (SDRAM, DDRAM).
- Boot from first hard disk - boot your PC from the first hard drive (like a normal boot).
To start the installation, choose the first option.
Choose the Hard Drive
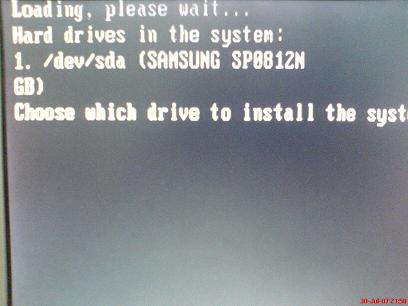
- Select the drive for install. Press 1 for the first hard-drive, 2 for the second hard-drive, etc. Remember, this wipes your HD clean: partitions, data, everything.
Finishing Installation
- When the installation is finished, remove the disc from the drive, close the tray, and press 'Enter'.
Rebooting
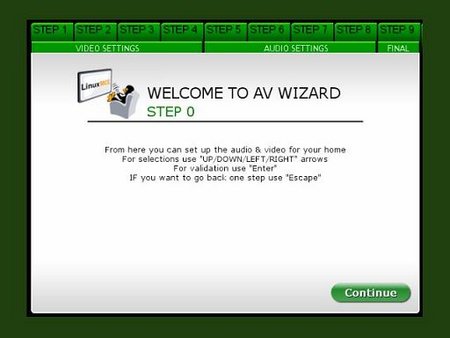
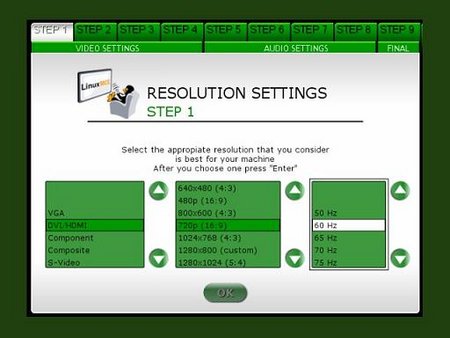
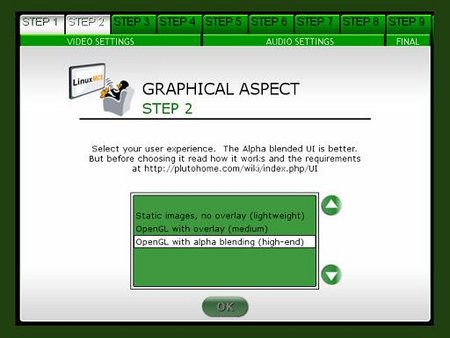
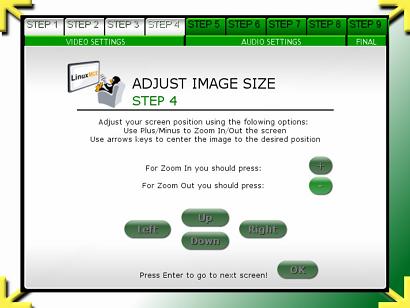
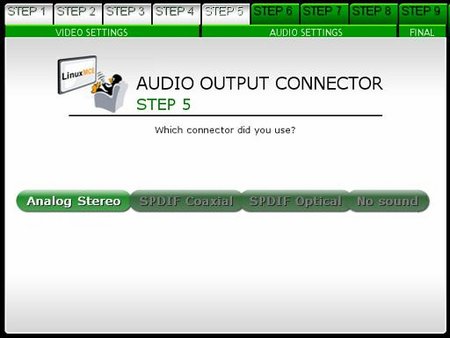
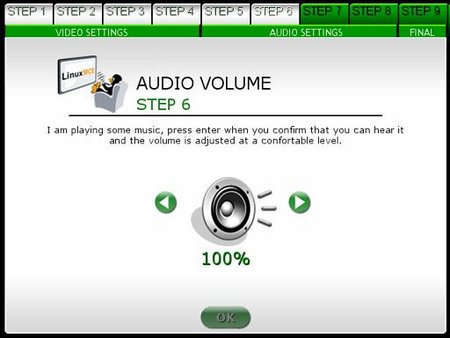
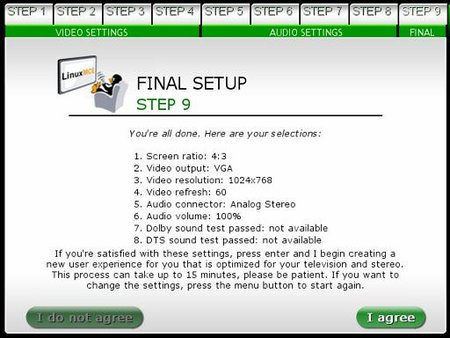
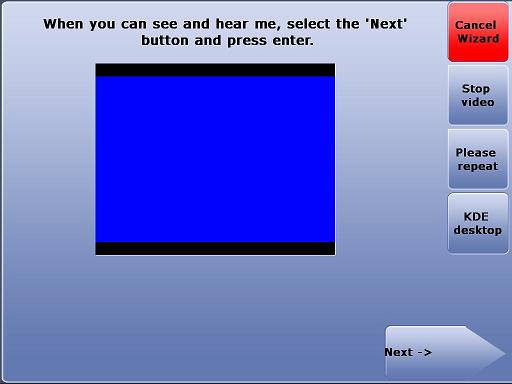
- After rebooting, LinuxMCE will load. Configure your audio and video settings.
A/V Wizard
- Also see the detailed AV Wizard step by step instructions, especially if you do not see the AV Wizard.
House Setup Wizard
- Also see the detailed House Setup Wizard detailed instructions.
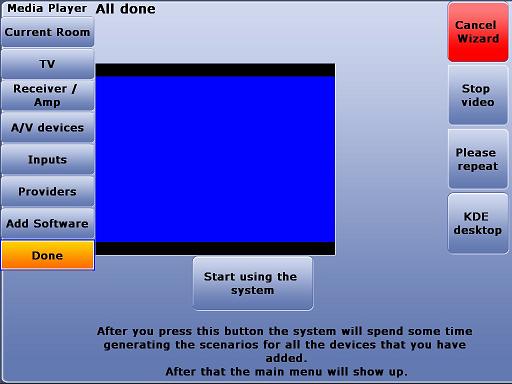
- After completing the video setup, press "Start using the system now".
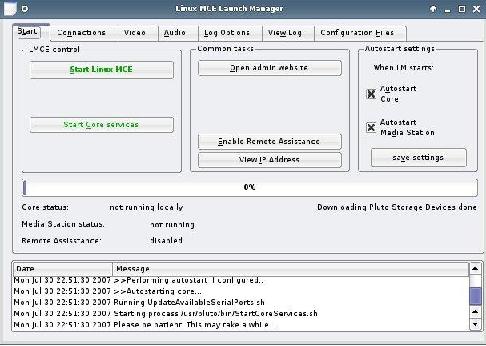
LinuxMCE Launch Manager
- LinuxMCE Launch Manager will start your Media Center.
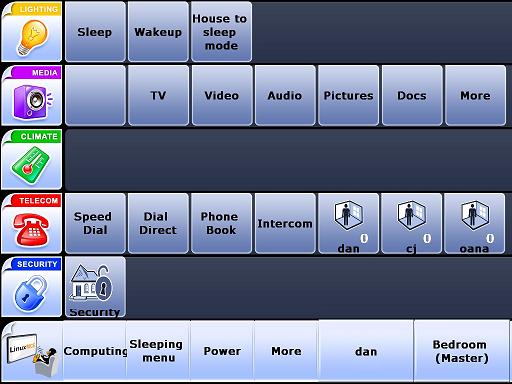
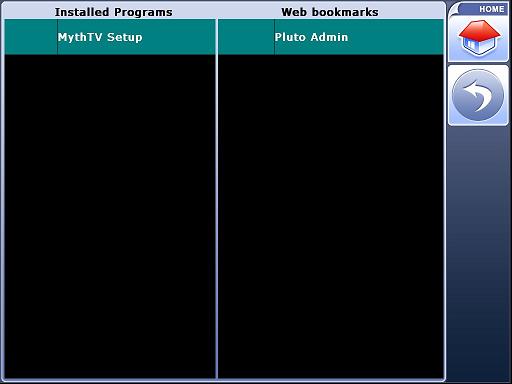
- Open the Onscreen Orbiter.
Note: The following step may be obsolete for newer editions.
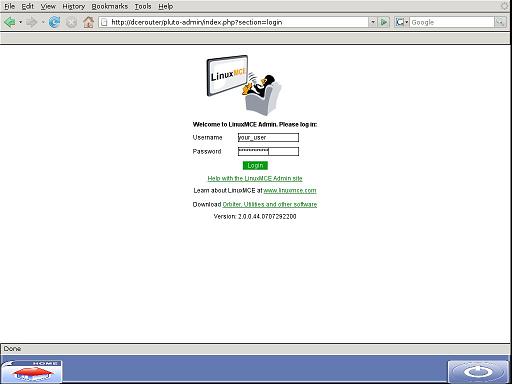
- Click Computing, then Pluto Admin to open the LinuxMCE Web Admin page.
Login with the LinuxMCE user and password that you created in Video Wizard (i.e. the first user created).
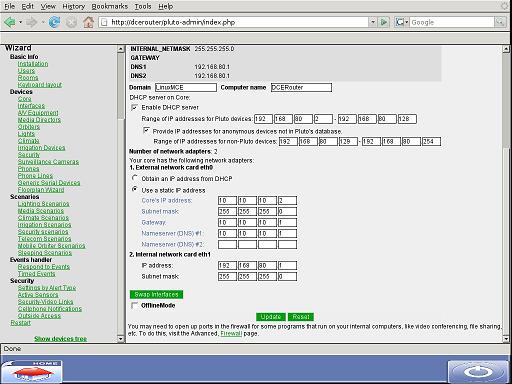
- Go to Advanced -> Network -> Network Settings to modify your network settings:
- For the "external network card" select the type that you use to connect to the Internet. Most users will choose dynamic IP address. If you use a static IP address, choose this and type in the settings (IP/Subnet/Gateway/DNS) provided by your ISP.
- After you've finished setting up your network press update. Then press the close button from the bottom right side of the screen.

