LinuxMCE 710 DVD Installation
1.Download the LMCE DVD ISO Image from <link>.
2.Burn it with your favorite dvd writing software.
3.Enter your LMCE PC BIOS (by pressing DEL, F2 key at boot-up), and select to first boot from CD/DVD.
4.Insert the LMCE DVD in the driver and save your bios settings.
5.If your PC will boot from the LMCE DVD you'll see the following boot menu:
5.1.Install Linux Media Center - will install LMCE on your hard drive;
5.2.Recovery - allows you to open a console and diagnose your un-bootable system or request support from technical department;
5.3.Memory test - test your PC volatile memory(SDRAM, DDRAM);
5.4.Boot from first hard disk - boot your pc from the first hard drive, like a normal boot.
6.To start the installation, choose the first option.
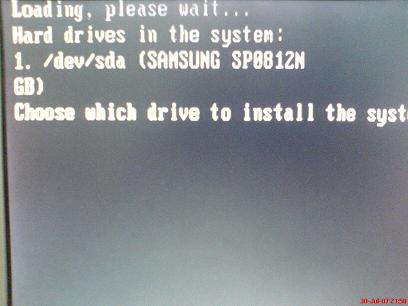
7.You will be asked to select the drive for install. Press 1 for the first hard-drive, 2 for the second, etc.
8.The installation continues
9.When the installation is finished, you will be asked to remove the disc from the drive, close the tray and press 'enter'
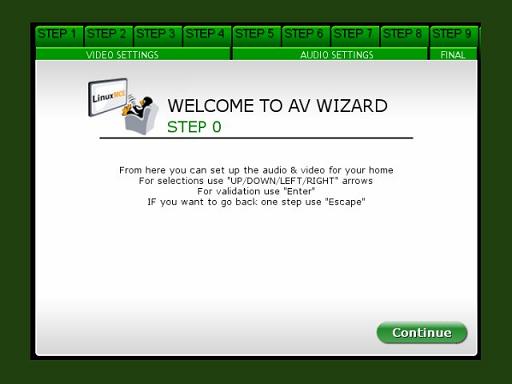
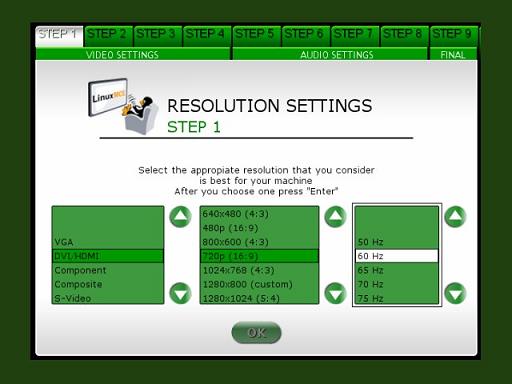
10.After reboot, LinuxMCE will load, and you will be asked to configure your audio and video settings
10.1.Select the output connector of your video card, the resolution and refresh of your display adapter


